This guide explains how to back up and restore your websites in Plesk. Regular backups are essential to guarantee you can quickly recover your site in case of issues.
Backing Up Your Site in Plesk:
- To create a backup of your site in Plesk, follow these steps
- Log in to Plesk.
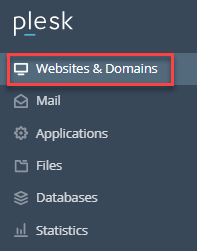
- Navigate to “Websites & Domains” in the left sidebar.
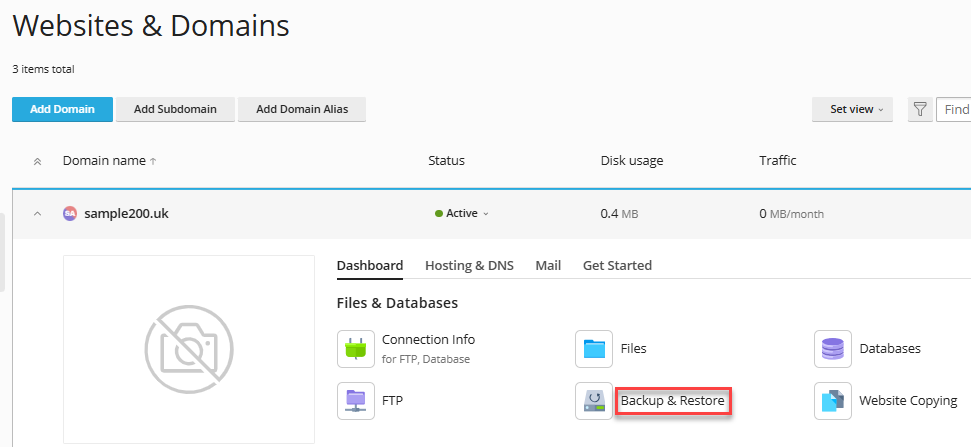
- Click “Backup & Restore”.
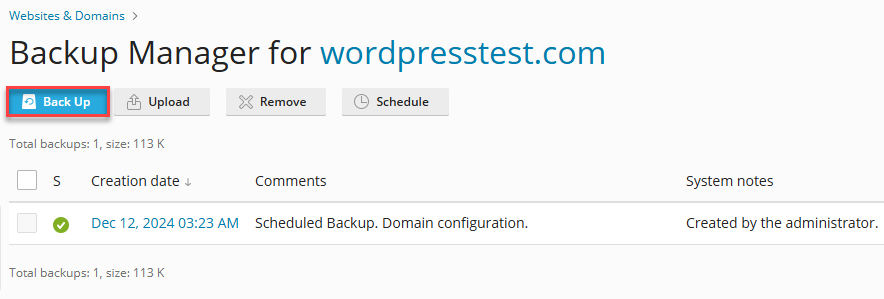
- On the Backup Manager page, click “Back Up.”
- Under “Backup content”, select the components you want to include in the backup.

- In the Type section, choose between a “Full” or “Incremental” backup.

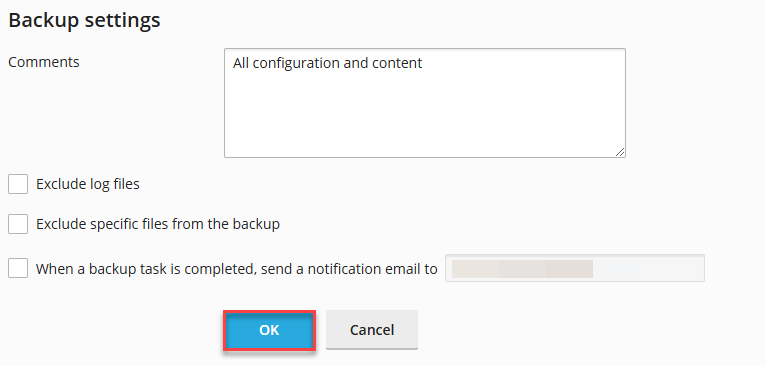
- Customise additional settings under “Backup settings” as needed.
- Click “OK” to start the backup process.
- Scheduling Backups
You can also schedule backups to run automatically at specific intervals. Here’s how:- Log in to Plesk.
- Navigate to “Websites & Domains” in the left sidebar.
- Click “Backup & Restore”.
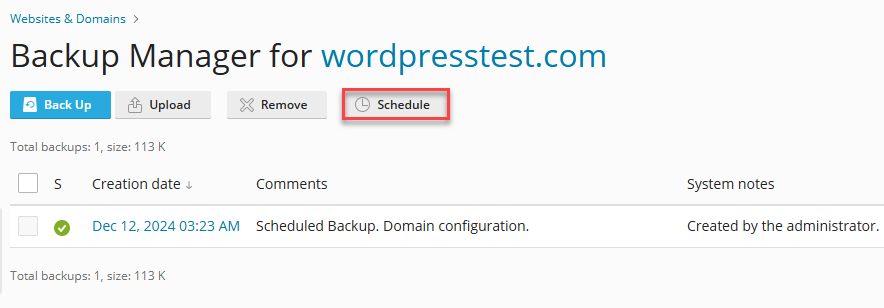
- On the Backup Manager page, click “Schedule.”
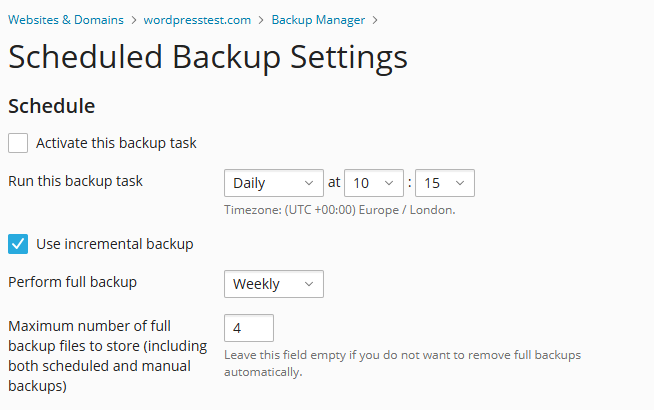
- On the Scheduled Backup Settings page:
- Under Schedule, specify the backup frequency.
- Select the type of backup and the retention period for backup files.
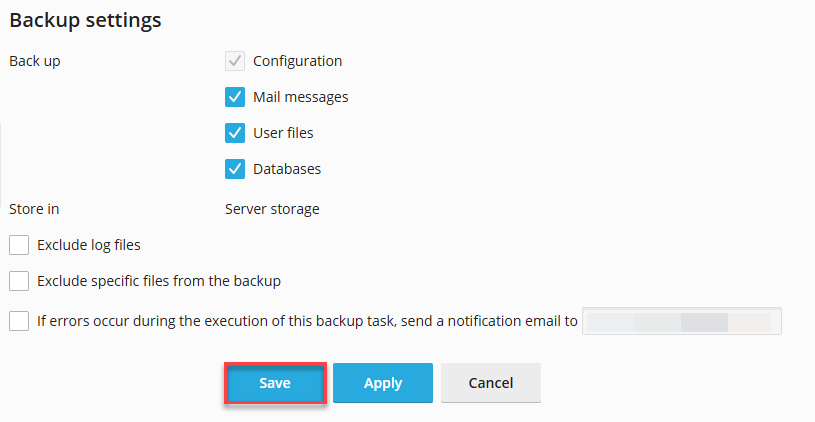
- Customize additional options under Backup settings as needed.
- “Save” the scheduled backup settings.
- Restoring Your Site from a Backup
To restore a website from a backup, follow these steps:- Log in to Plesk.
- Navigate to “Websites & Domains” in the left sidebar.
- Click “Backup & Restore”.
- Select the backup you want to restore from the list.
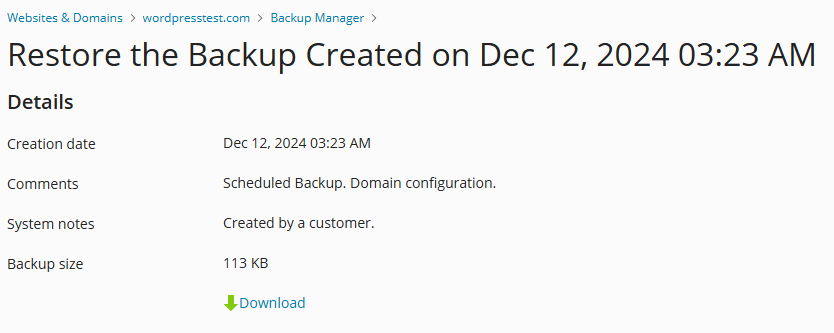
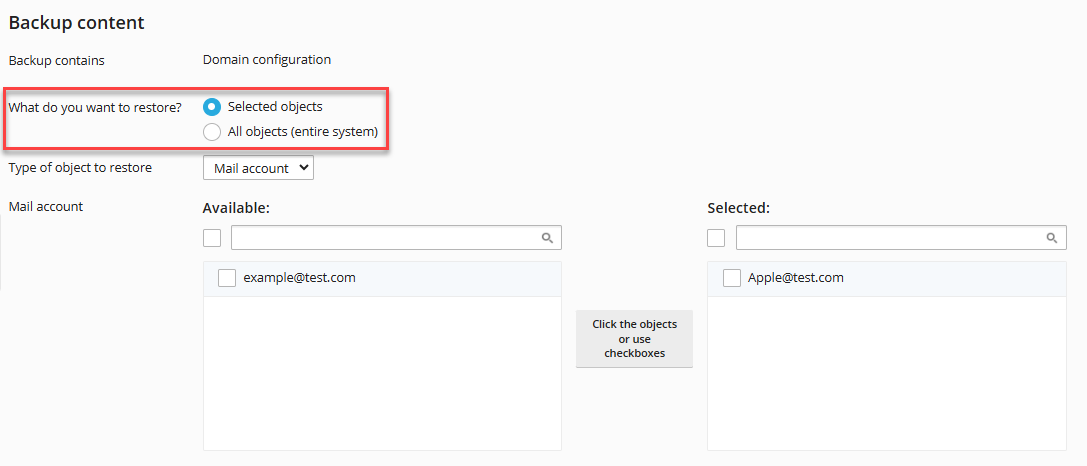
- Under Backup content, choose one of the following options:
- Selected objects: Restore specific items.
- All objects (entire system): Restore the entire site.
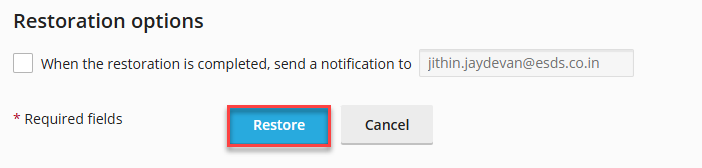
- Customize the settings under Restoration options as needed.
- Click “Restore.” Plesk will begin restoring your site.
By following the above-outlined steps, you can confirm your website is backed up and easily restored whenever required. Regular backups and automated backups provide added security and peace of mind for your website’s data.
Read Also: How to Line up FTP Storage Backup Solution using Plesk