Have you created a Certificate Signing Request (CSR)? If not then you need to create it and order your certificate.
Below are the steps to create a CSR request –
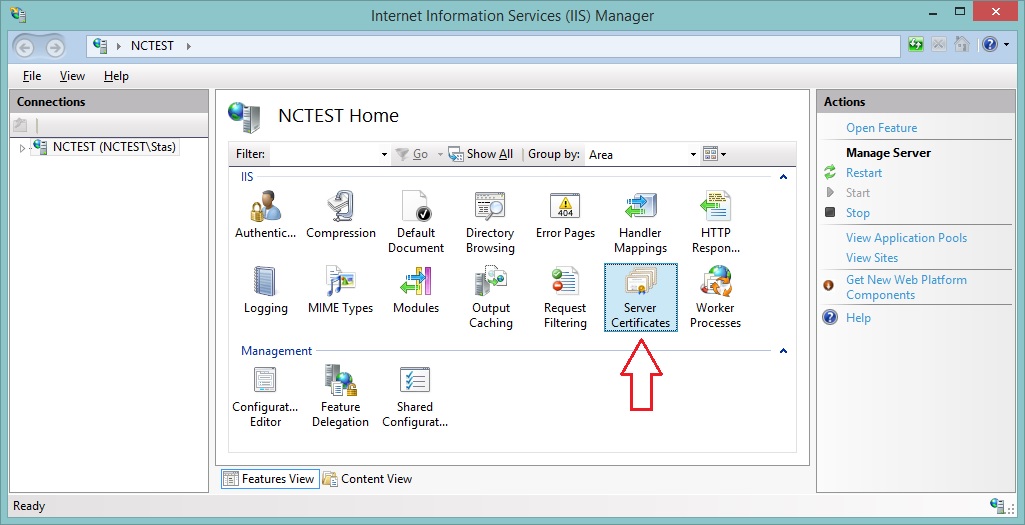
- Open the Internet Information Services (IIS) Manager by pressing the command Win+R > “inetmgr” > Enter.
- Double-click the Server Certificates icon on the Home page.
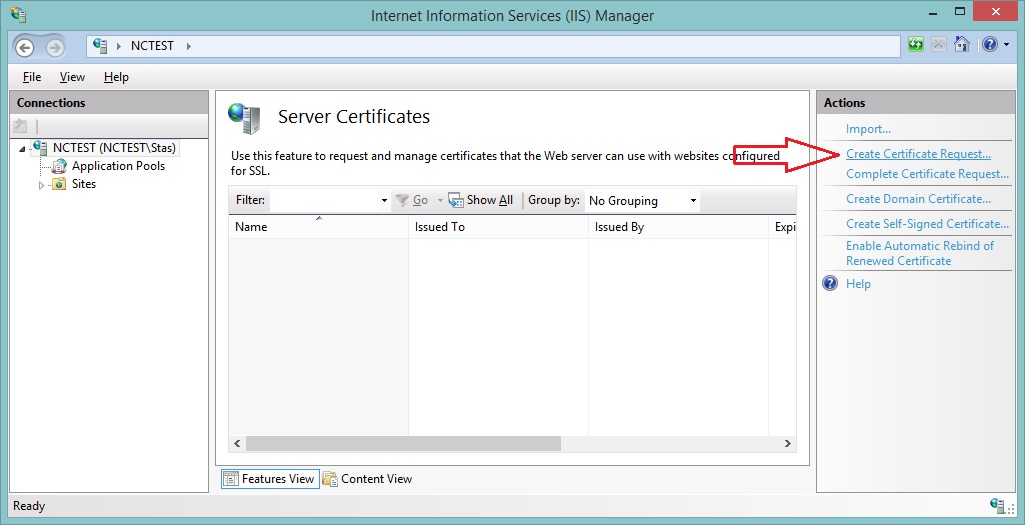
- Click on the Create Certificate Request from the Actions menu on the right which will open the Request Certificate.
- In the Distinguished Name Properties window enter the below information –
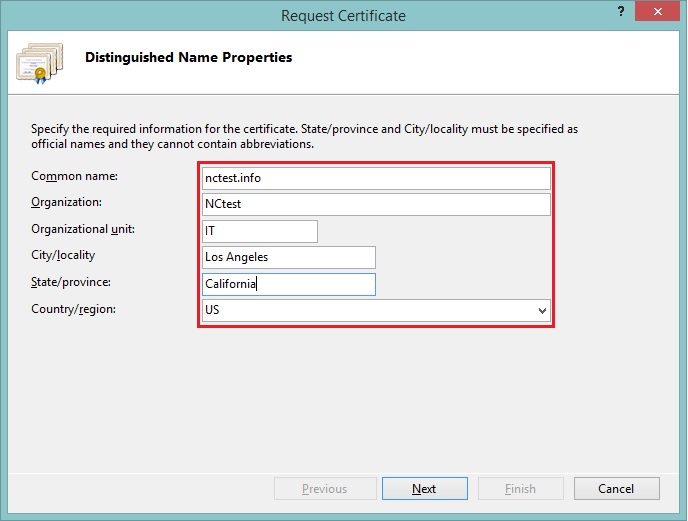
- Common Name – It is the name through which the certificate will be accessible. It is usually a completely-qualified domain name. e.g. www.domain.com. or mail.domain.com.
- Organization – The legally registered name of your company/organization.
- Organizational Unit – The department name within the company (this entry listed as “Web Security”, or “IT” or can be simply left blank.)
- City/Locality – The place where your organization is located.
- State/Province – The state in which your organization settled.
- Country/Region – The country where your company is located.
- Click Next.
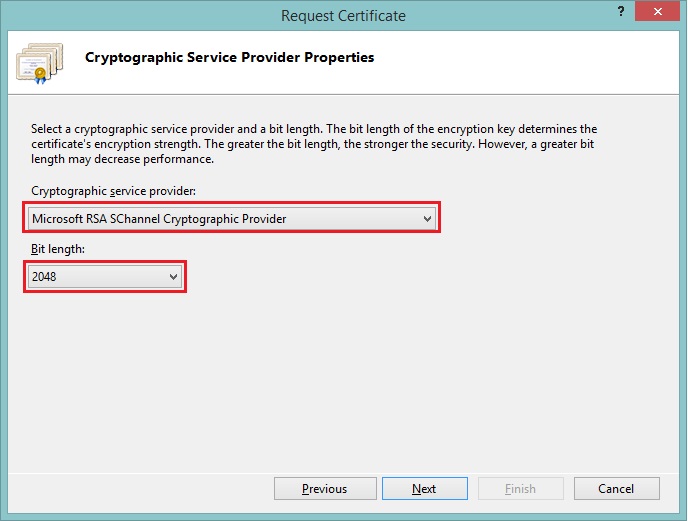
- Enter the below information in Cryptographic Service Provider Properties and click Next –
- Cryptographic Service Provider – Select Microsoft RSA Channel from the drop-down list or if you have a specific cryptographic provider select the name from the list.
- Bit Length – Select 2048 (or higher) in the drop-down list.
- In the File Name window, you will need to specify the name of the file to which a newly generated CSR code saved and a place where the file would be stored. You can type in the path to the field or use “…” button to browse the file system.
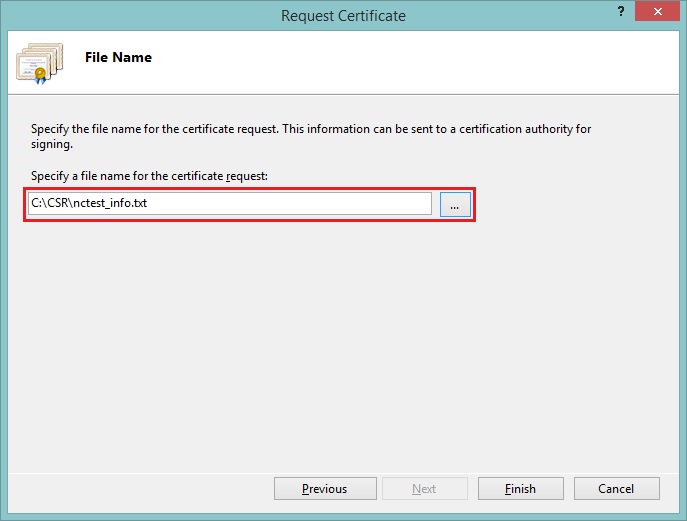
- After specifying the file name and location, click the Finish button.
- It’s easy to locate the CSR file on the computer, open it with a text editor and use the CSR for SSL certificate activation.
Steps to install SSL Certificate on Windows Server 2012 from IIS
- Open the ZIP file that contains your certificate and save the file named user to the web server’s desktop which you are securing.
- Start the Internet Information Services (IIS) Manager.
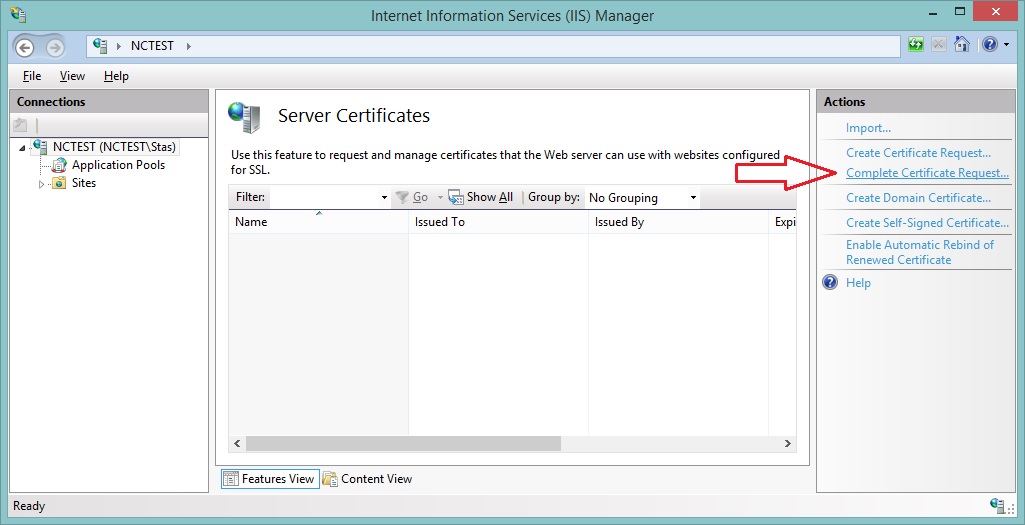
- Double-click the Server Certificates icon from the Home.

- Hover the mouse over the Actions panel on the right side and click on Complete Certificate Request which will open the Complete Certificate Request.
- The screen will display Specify Certificate Authority Response which contains 3 fields.
- File name containing the certification authority’s response – browse through the file system to the certificate file which you have received from the certificate authority.
- Friendly name – It helps the server administrator easily find a particular certificate You can provide the domain name of the certificate in this field.
- Select a certificate store for the new certificate – Select Personal from the drop-down list.

- Click OK button once all the fields set properly.
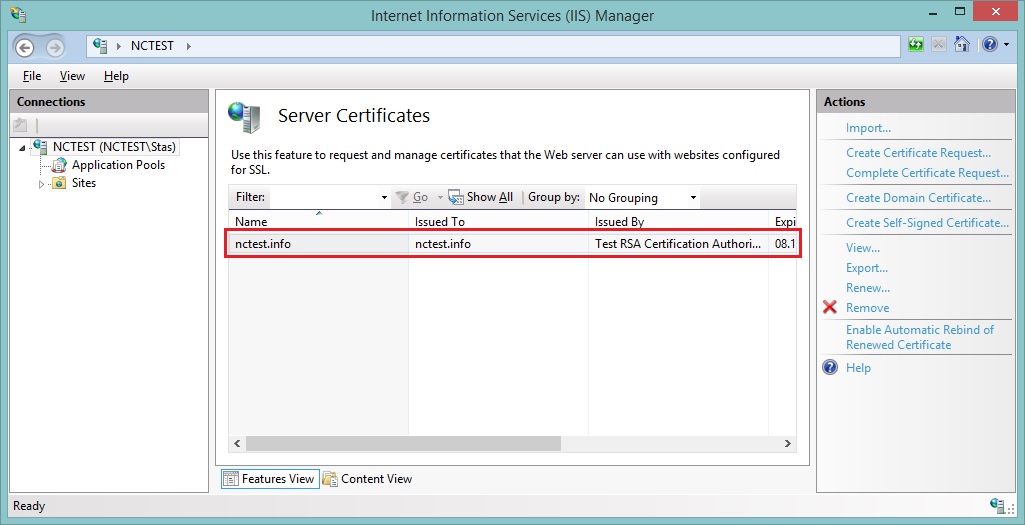
- The certificate uploaded to the server and should appear in the store now.
Steps to configure your SSL certificate on Windows Server 2012 R2 – IIS
- Once the successful installation of the SSL certificate is done on your server, you require assigning it to the appropriate website by using IIS.
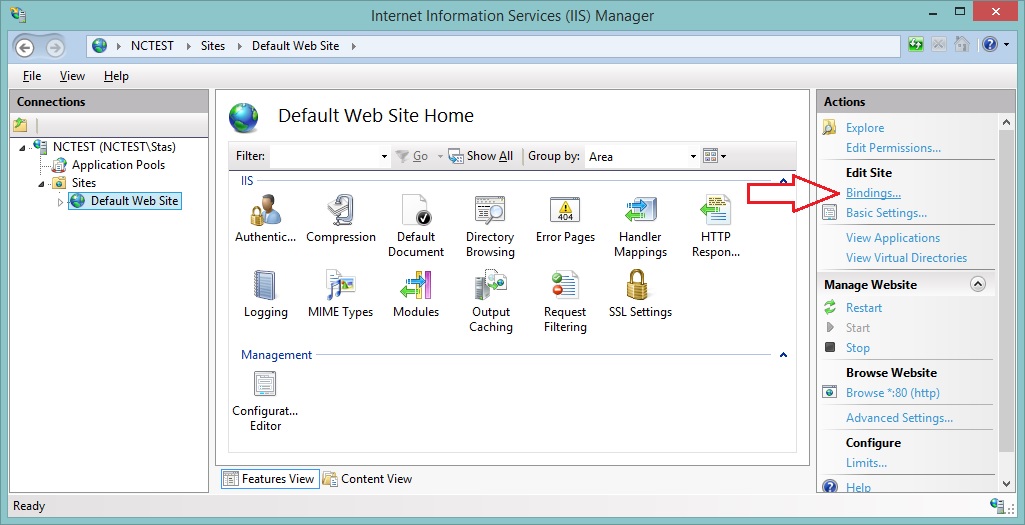
- Hover the mouse over the Connections panel on the left side of Internet Information Services (IIS) Manager and select the website from the Sites subfolder.
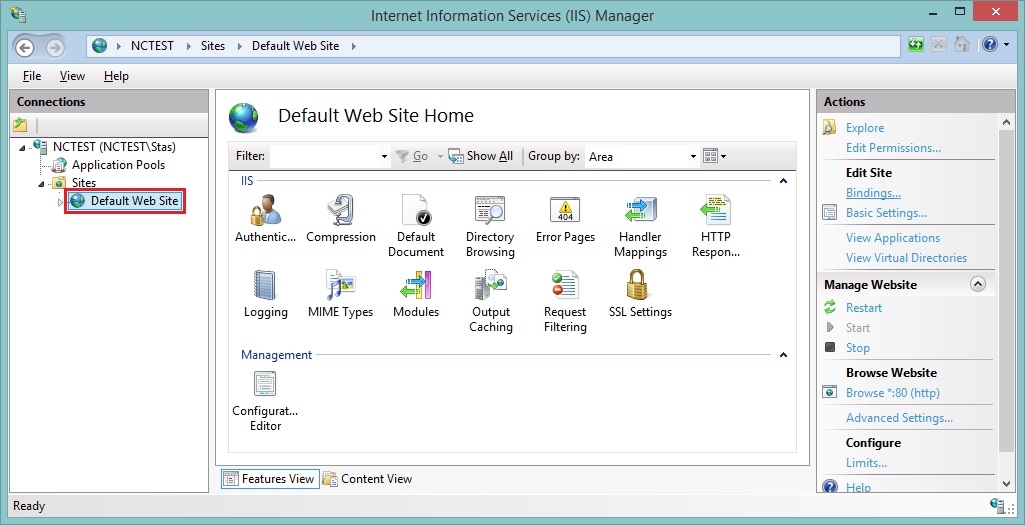
- Navigate to the Actions menu and click on Bindings on the right side to open the Site Bindings.
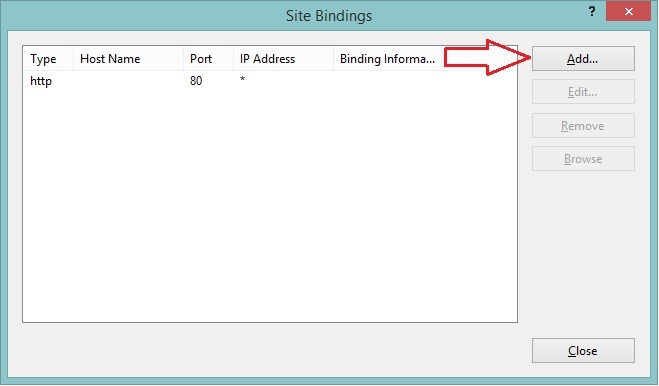
- Now click Add to open AddSiteBinding window in the Site Bindings and modify the below fields here –
- Type – Choose https from the drop-down menu.
- IP address – Select the IP address or if the same IP going to be used for multiple SSLs on different sites then SNI has to be enabled as well.
- Port – Specify the port number for a secure connection. The default port number is 443.
- SSL Certificate – Select the certificate that was installed needs to specified.
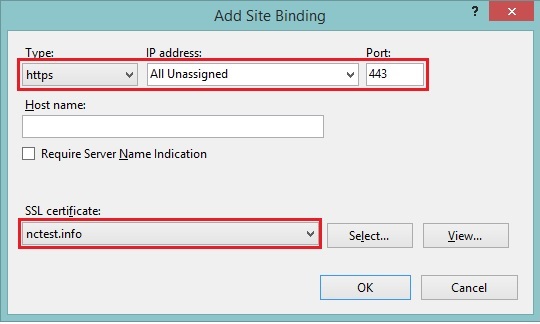
- Now click OK.
Your SSL certificate has been installed and the website is configured to permit secure connections. Once SSL installed on Domain, Please check the domain on the below link for verification -https://www.sslshopper.com/ssl-checker.html